Prebuilt AI Builder Models in Power Platform

AI Builder is part of the Microsoft Power Platform ecosystem that lets you add artificial intelligence (AI) to your business solutions developed in Power Platform. Thanks to Microsoft, you can explore the potential of AI with AI Builder, with no coding skills required.
Common Use Cases of AI Builder
You can use AI Builder with Power Automate to add intelligence to automated business processes. You can then use these processes with added intelligence in other Power Platform applications such as Power Virtual Agents to make chatbots more intelligent and in Microsoft productivity tools such as Teams to increase the efficiency of operations among teams.
You can use AI Builder in Power Apps to make applications more intelligent and efficient in operation. For example, AI Builder can enable a canvas application (application built in Power Apps) to recognize images, extract text, analyze information, etc.
In SharePoint, you can integrate AI Builder with Microsoft Syntex to automate extracting, analyzing, and categorizing data stored within the files in your SharePoint library and records stored inside your SharePoint lists. This also applies to other Microsoft 365 applications such as OneDrive for Business, which has files used within a business.
In this article, I will limit the focus to prebuilt AI Builder models in Power Automate and Power Apps. I will take you through how to use AI Builder to produce intelligent business solutions that increase operational efficiency at the personal and business level.
AI Builder Models
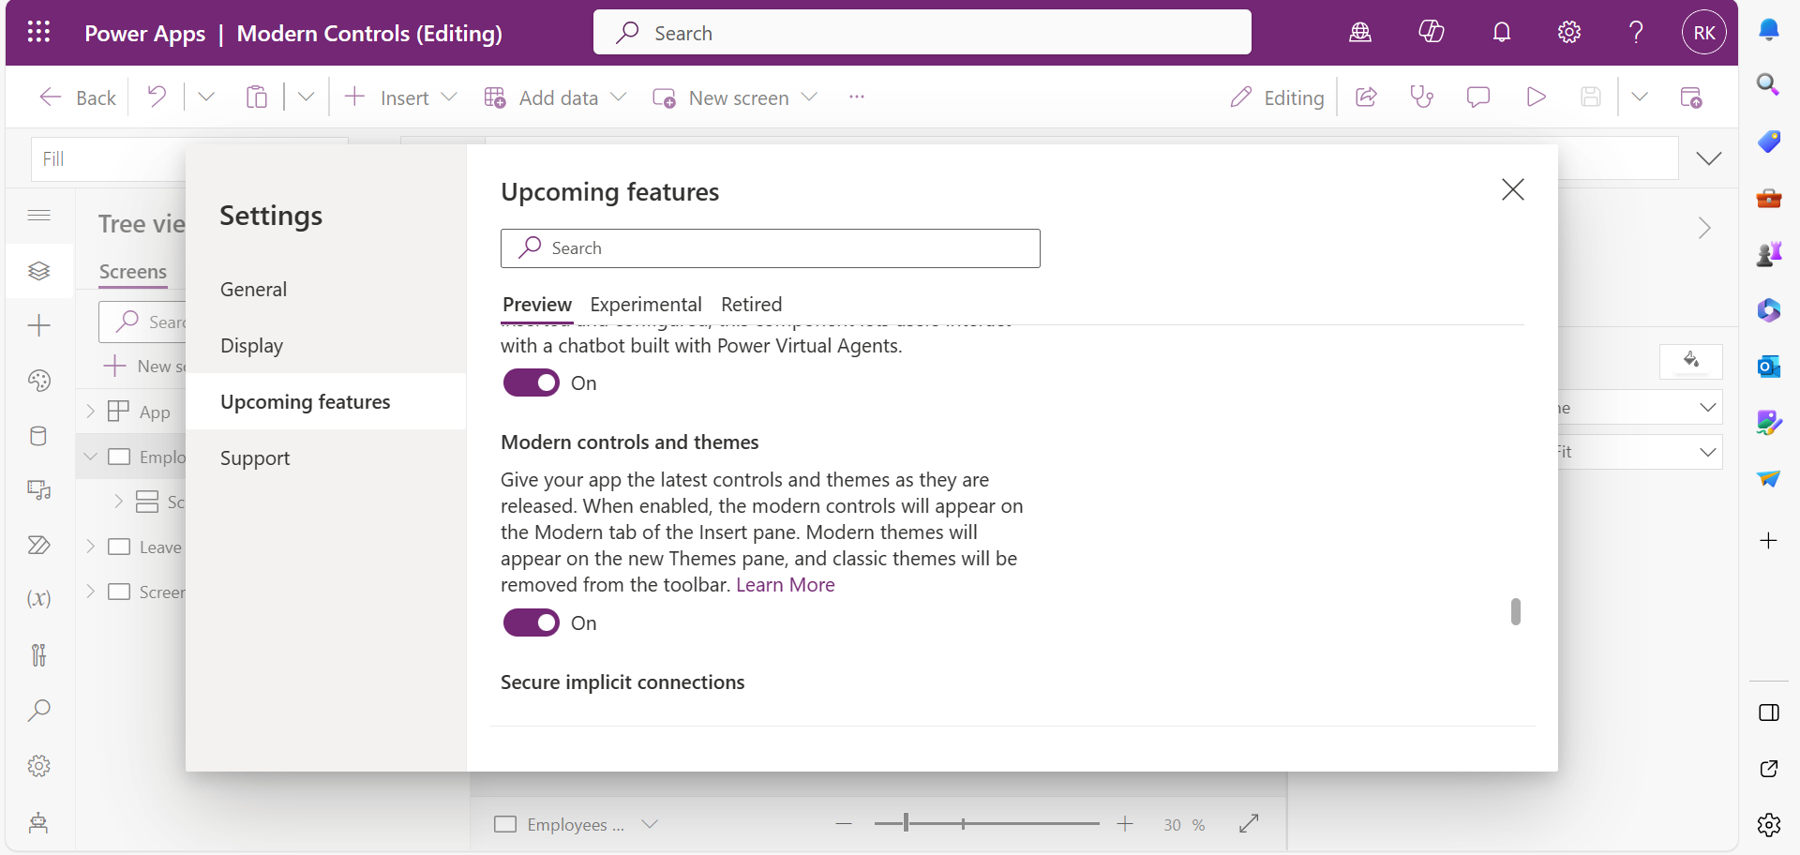
AI Builder offers two types of models: prebuilt and custom. You can use these models to add intelligence to your solutions. Prebuilt models are already pretrained and therefore ready to be used within your solutions. You do not need to gather data, build, train, and publish the model beforehand. Custom models, on the other hand, need to be trained with your own business data and published before use in your solution. With custom models, you can tailor the model to meet your specific business needs using your own business data. This is not possible with prebuilt models because they are already trained.
In the next sections of this article, I will delve deep into some of the prebuilt models in Power Automate and Power Apps, while providing use cases as examples.
Prebuilt Models in Power Automate and Power Apps
The available prebuilt models in AI Builder that I will discuss in this article are:
- Receipt processing model
- Invoice processing model
- ID reader
- Business card reader model
- Sentiment analysis model
- Key phrase extraction model
- Language detection model
- Entity extraction model
- Text recognition model
- Text translation model
- Category classification model
- Text generation model (in preview)
- Image description model (in preview)
To explore the models, you need a premium license in addition to your Power Apps and Power Automate license. However, Microsoft offers a 30-day free trial with AI Builder, which you can extend when the trial ends.
Receipt Processing Model
The receipt processing model detects and extracts crucial information from printed and handwritten receipts. The model is available in Power Automate and Power Apps for use in different scenarios.
Use Case: Receipt Processing Model in Power Automate
Assume that your company’s head of finance gets receipts via email from employees to indicate the expenses incurred in buying meals and shopping during work-related activities. With Power Automate, you can automate this process so that when the head of finance receives an email with a receipt, the model detects and extracts the printed text in the receipt and automatically saves the information in an Excel file or SharePoint list. The head of finance can now easily access, read, and store the information for future reference.
Note: Ensure that you have the AI Builder license or the 30-day free trial to use AI Builder models.
Step 1: Set Up an Automated Cloud Flow in Power Automate
In the left pane of the Power Automate home page, select My flows, and then select New flow > Automated cloud flow. You will use an automated cloud flow because the flow gets triggered whenever the head of finance receives an email with a receipt. Give your flow a name. Under Choose your flow’s trigger, select When a new email arrives (V3) (Office 365 Outlook), select Create, and the flow will be created. Your flow should look like Figure 1.

Step 2: Configure the Trigger
Note: Before configuring this trigger, make sure you have a connection for Office 365 Outlook with Power Automate. See Connectors.
In this step, configure the trigger to only initiate the flow when an email that has an attachment and a subject with the name Receipt in it is delivered to the head of finance. You do not have to specify the From field, since the email comes from any employee. Your trigger should appear like Figure 2.
Step 3: Add AI Builder Receipt Processing Model
Select New Step, and then select AI Builder. (If you cannot find it, you can search by name.) In the Actions list, scroll down, and then select Extract information from receipts. In the Receipt file, select Attachments Content from Dynamic Value. (This value is obtained from the trigger in step 1.) Your flow should look like Figure 3.
Step 4: Create a File in Excel Online for Business to Store Receipt Information
Create a file in Excel Online for Business to store the information extracted from your receipt. Indicate the fields that you want recorded in the Excel file from the receipt. Your Excel file should look like Figure 4.
Step 5: Configure Excel Online for Business in the Power Automate Flow
Make sure you have a connection for Excel Online for Business with Power Automate. See Connectors.
Go back to Power Automate, add a new step, and then select Excel Online for Business. From the Actions list, select Add a row into a table. Since this model is pretrained, you will notice that some values appear automatically in the dynamic values. Use these values and match them with the columns you defined in your Excel file, as shown in Figure 5. Remember to select the name of your Excel file and the table.
Your flow is ready to go. Send an email with an attachment to the address specified in the trigger and see if the model will detect and extract the information from the receipt and then update it on the Excel file.
To confirm that the flow worked as expected, your Excel file should appear like Figure 6. The model has successfully identified the fields from the receipt and the values stored in Excel.
Use Case: Receipt Processing Model in Power Apps
The receipt processing model is available as a component in Power Apps. It scans and extracts information from a receipt. You can either take a photo of the receipt directly by using the app or upload the image, as discussed in the next section.
Step 1: Add a Receipt Processing Component to Power Apps
In the left navigation pane of the Power Apps home page, select Create > Start from Blank. From the available options, select Create under Blank canvas app. Enter an app name. (Optional) Choose a different format for the app.
Select Create to create the blank canvas app with one screen. Add a receipt processing model component to your app. Under AI Builder in the Insert ribbon of Power Apps, select the receipt processor component to load the model on the screen. Put your app in preview mode by selecting the play button at the top right corner of your app. You can select any screen layout to view the app from the three options available. In preview mode, select the Scan receipt button of the component in the app to upload a receipt as shown in Figure 7.
Step 2: Display the Information from the Receipt in Power Apps
To display the information from the receipt, add multiple text labels in your app. You can do this by using a Power Fx function written on the formula bar. For example, a function like ReceiptProcessor2.MerchantName will show the name of the merchant extracted from the receipt on the text label when used on the text property. Your app should look like Figure 8.
The processed fields are highlighted on the receipt in Figure 8.
Step 3: Use a Button and Patch Function to Update Data to SharePoint
Add a submit button control to your app and include a Patch function on the OnSelect property of the button to submit the receipt details. The formula should look like the following:
Patch('Receipt Information', Defaults('Receipt Information'),
{'Merchant Name': MerchantName.Text, 'Merchant Number':
MerchantNumber.Text, Total:Value(Total.Text)})
Patch functions update data sources with new data in Power Apps. Therefore, your SharePoint list should be populated with the information from the receipt when you select the button.
Invoice Processing Model
This prebuilt model has been trained to extract key information from invoices such as the invoice name. You can use this model to automatically extract data from invoices and save the details in any storage of your choice with Power Automate
Use Case: Invoice Processing Model in Power Automate
Assume you are the manager of your company, and you want to extract data from an invoice received from your suppliers. You also want to save the data in an Excel file for reference. You can do this by using a Power Automate flow. See Create a new flow in Power Automate.
Using Invoice Processing Model with Power Automate
Using the Power Automate flow, manually upload the invoice to Power Automate. With the model as an action, extract the data from the invoice and save it to Excel. Your flow should look like Figure 9.
The model extracts all the information from your invoice and updates the data to the Excel file specified in the last step of your flow (Add a row into a table) in Figure 9. Make sure to match all the Excel fields with the dynamic values from the invoice processing model, as shown in the left-hand side of the preceding flow.
ID Reader Model
This model identifies information such as the person’s name, age, and date of birth from an identity document such as a birth certificate, driver’s license, or an identity card.
Assume you are an HR employee in your company, and you are tired of reading information manually from an identity card of new employees and uploading the data manually to a SharePoint list. With this model, you can automatically extract the information and save it to the required SharePoint list by using a Power Automate flow.
Use Case: ID Reader Model with a Power Automate Flow
Using a Power Automate flow, you can manually upload the ID card and then, with the model as an action, extract the data from the card and save it to a SharePoint list.
Step 1: Configure a Manually Triggered Flow in Power Automate
Since you will be uploading the ID manually as the HR employee, the flow will be triggered manually. Therefore, you will use an instant cloud flow. In the left pane of the Power Automate home page, select My flows, and then select New flow > Instant cloud flow. Name your flow. Under Choose your flow's trigger, select Manually trigger a flow, and then select Create to launch the flow. The first step of your flow should appear like Figure 10.
Step 2: Add ID Reader Model to the Flow
Add a new step to your flow by selecting the + (plus sign) button after the trigger. Under AI Builder, search for Extract information from identity documents, and then add the model to this step as an action. Your second step should look like Figure 11.
Step 3: Connect Your Flow to a SharePoint List
This action will update your SharePoint list with the information extracted from the ID card. Make sure to match the dynamic values with the list columns like in Figure 12.

To confirm that the model extracted the data successfully, your SharePoint list should be updated with the data from the ID card, as shown in Figure 13.
Business Card Reader Model
This prebuilt model detects a business card and extracts information such as a person’s name, job title, and company from the business card. This model can be used with both Power Apps and with a Power Automate flow.
Use Case: Business Card Reader Model in Power Apps
Assume your employees frequently receive business cards from clients while either in the office or during events. They need to save the business card's information where they can refer to the data easily, such as in an Excel file or a SharePoint list. I am going to demonstrate how to achieve this scenario using this model with both Power Apps and with a Power Automate flow.
Step 1: Create a Canvas Application in Power Apps
In the left navigation pane of the Power Apps home page, select, Create > Start from Blank. From the available options, select Create under Blank canvas app. Enter an app name. (Optional) Choose a different format for the app.
Select Create to create the blank canvas app with one screen. Under AI Builder in the Insert ribbon of Power Apps, add a Business Card Reader component to your app. Put your app in preview mode by selecting the play button in top right corner of your app. You can select any screen layout for the app from the three options available. While in preview mode, select Scan business card of the component in the app to upload a business card, as shown in Figure 14.
At the top-right corner of the app, select the X button to exit from preview mode. Add multiple text labels to your app to display the card information, such as the first name, last name, etc. To achieve that, add a Power Fx function in the formula bar that populates the text labels with business card details, for example, BusinessCardReader1.FirstName. This function will show the first name extracted from the business card reader model on the text label when used on the text property. Your app should look like Figure 15.
Step 2: Update Card Information to SharePoint List
Add a button that you will use to submit your card details. In the Insert ribbon of Power Apps, search for a button control. Select the control to add it to the screen. Position the button control so that it is below the text labels that display the business card’s information. Your canvas app should look like Figure 16.
The Submit Details button uses a Patch function to update the business card’s details to SharePoint. Here is the code snippet:
Patch ('Business Card Information', Defaults('Business Card Information'),{‘First Name’: FirstName.Text, 'Last Name': LastName.Text,'Job Title': jobtitle.Text,Email: email.Text,Telephone:telephone.Text,Website:website.Text})Note: Whenever you exit your app, the business card will be removed from the app, and you will have to upload it again.
Use Case: Business Card Reader Model in Power Automate
In Power Automate, it is a bit simpler compared to Power Apps. Using the same scenario, the employee can manually upload the business card to Power Automate. This will trigger the flow to extract information from the card and update the data to the same SharePoint list that you used with Power Apps. To create the flow, go to the left pane of the Power Automate home page. Select My flows, and then select New flow > Instant cloud flow. Give your flow a name. Under Choose how to trigger this flow, select Manually trigger a flow. Choose Create to launch the new flow. Select File as an input to this trigger, and then add a new step to the flow. Select Extract information from business card under AI Builder as an action for this step. Add the final step to the flow, and then search for SharePoint. Select Create Item as the SharePoint action. Choose the SharePoint list that was used with Power Apps in the previous section. Your flow should look like Figure 17.
Sentiment Analysis Model
This prebuilt model has been trained to analyze texts and identify negative or positive sentiments. Most businesses use this prebuilt model to analyze and understand feedback from customers or employees. The model analyzes a text input and categorizes the outcome as either positive, negative, neutral, or mixed, with a confidence score that ranges from 0 to 1.
Use Case: Sentiment Analysis Model in Power Automate and Power Apps
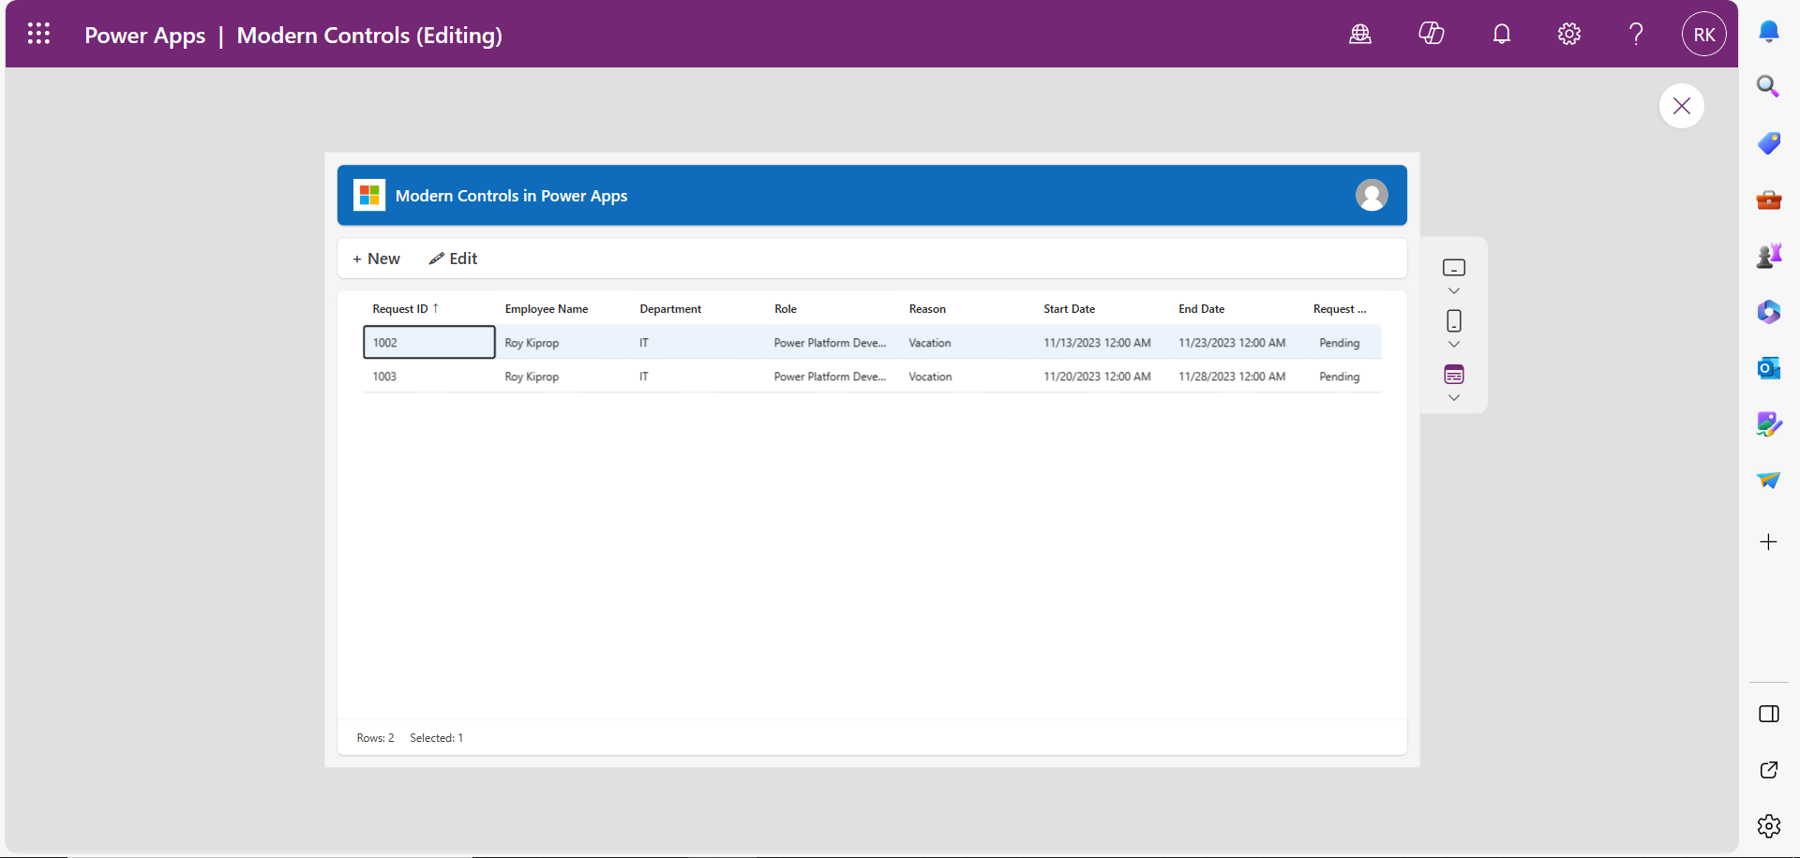
Assume your company has an existing canvas app that allows employees to purchase products from the company at a discounted price. The app has a feedback screen where employees can give feedback about the products or their experiences while using the application. These feedback details are automatically updated to a SharePoint list using a Patch function. As the head of sales, you want to automate this process of detecting negative or positive sentiments from employees and take the appropriate action. You can achieve this using both Power Automate and Power Apps.
An example of such a flow is shown in Figure 18. The flow gets triggered from Power Apps when the employee submits a feedback form. The model then analyzes it and, depending on the outcome, the flow sends an email to the employee informing them of what actions to take. The result is also updated to a SharePoint list for reference purposes.
To trigger the flow from Power Apps, the flow must be added to Power Apps. On the right-hand side of Power Apps Studio, select Power Automate, and then select Add a flow. Select the instant flow you created from Power Automate, as shown in Figure 19.

In addition to the Patch function, you will add another Power Fx function in the OnSelect property of the Submit button, as shown in the following code snippet. Make sure to include all the inputs specified in Power Automate, which include the customer’s name, email, and feedback to trigger the flow. These values will be accessed dynamically within your flow.
Patch ('Employee Feedback',Defaults('Employee Feedback'),{'Employee Name':TextInput3.Text, 'Employee Email': TextInput5.Text,Department: TextInput4.Text,Feedback: TextInput6.Text});

SentimentAnalysisFlow.Run(TextInput6.Text,TextInput5.Text,TextInput3.Text)
With the function set, any time the button is clicked, the flow will be triggered.
Key Phrase Extraction Model
This prebuilt model identifies and extracts key points in a text: for example, take a text like “Invoice for the first quarter of 2023 received.” The model will extract key points such as “Invoice for the first quarter" from the text.
As the manager of your company, you receive daily emails from customers, suppliers, and employees. You want to identify high-priority emails and reply to the sender that you have received the email. With the key phrase extraction model, you can extract the main points from either the subject or the body of the email. Based on these main points, you can then categorize your email as high priority or low priority.
Note: You will need a predefined set of phrases that you want the model to extract from the email so that you can categorize the email.
Use Case: Key Phrase Extraction Model in Power Automate
In the preceding scenario, any email that you receive will trigger your flow. You need to define an array variable that will store the phrases that need to be extracted from the email sent to your inbox. Your flow should look like Figure 20. See Create a new flow in Power Automate.
In my flow, I have defined a variable of type array with the following values:
[
"budget",
"receipt",
"invoices"
]
Any email with these keywords defined in the preceding array variable is categorized as high priority and needs action. To act on the email, I have added a condition that checks if there is a match between the key phrase extracted from the subject of the email and the keywords in my array. If this is true (there is a match), the flow will reply to the email automatically informing the sender that their email was received. On the other hand, nothing will happen if false, since this will be a low-priority email.
Language Detection Model
This prebuilt model has been trained to identify a language that dominates a given text and gives an output of the detected language. This is essential because it facilitates proper handling and processing of information.
As the head of customer care in your global organization, you receive many enquiries from clients of different nationalities. The clients send enquiries via email in different languages. You want to forward the email to a customer care agent who understands that language to handle the enquiry. Using the language detection model, you can identify the language and thereafter take the necessary actions.
Use Case: Language Detection Model in Power Automate
Using Power Automate, you will configure a flow that uses a language detection model to identify the predominant language in the email, and then take appropriate action.
Step 1: Configure an Automated Cloud Flow
Define a Power Automate flow that gets triggered when an email is sent to you from the client.
Step 2: Configure Language Detection Model
Add a language detection model as an action to your flow (under AI Builder). This action's output will be the language detected from the email's body that triggered the flow in the preceding step.
Step 3: Configure Switch Control
With the detected language, use a switch control to branch your flow based on certain conditions. For example, if the detected language is English (denoted as “en” as the outcome from the prediction), the email is forwarded to an agent who understands English to handle the query. The flow should look like Figure 21.
Entity Extraction Model
This model identifies and classifies specific information from a text into predefined categories. It can be particularly useful when you want to analyze unstructured data and transform it into structured data.
A legal department of an organization receives multiple contract documents from employees that contain valuable information such as the party’s name, contract duration, etc. The department needs a way to automate the process of extracting this information and to store it for compliance and referencing in SharePoint.
You can do this using Power Automate.
Use Case: Entity Extraction Model in Power Automate
Note: Documents used should not exceed 5,000 characters.
Step 1: Configure an Instant Cloud Flow
Create a flow that gets triggered when an employee from the legal department uploads a file to a Power Automate flow to be processed.
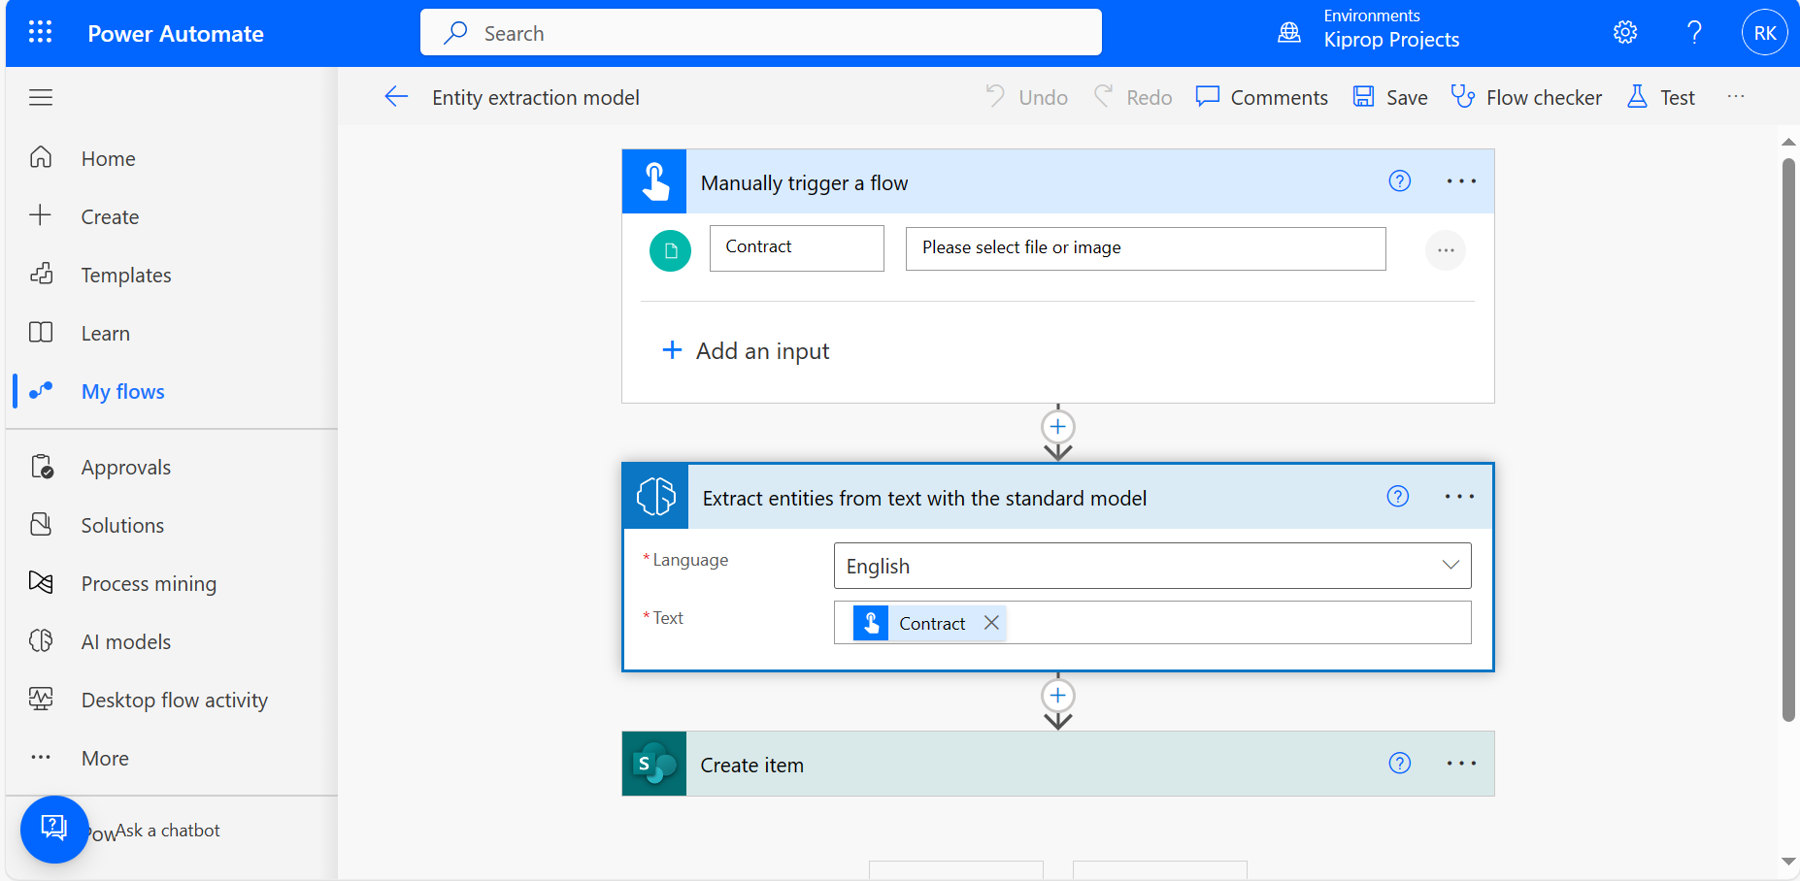
Step 2: Add an Entity Extraction Model
Add the entity extraction model (located under AI Builder) as an action to your flow. This model will extract the information from the contract document uploaded in the previous step.
Step 3: Add a Connection to the SharePoint List to Store the Information
The information extracted from the document will be updated to this SharePoint list. Make sure to add columns to the list and match the fields with the output from the model. Your flow should look like Figure 22.
To confirm that the preceding flow works when triggered, it should update the SharePoint list with information from the contract document.
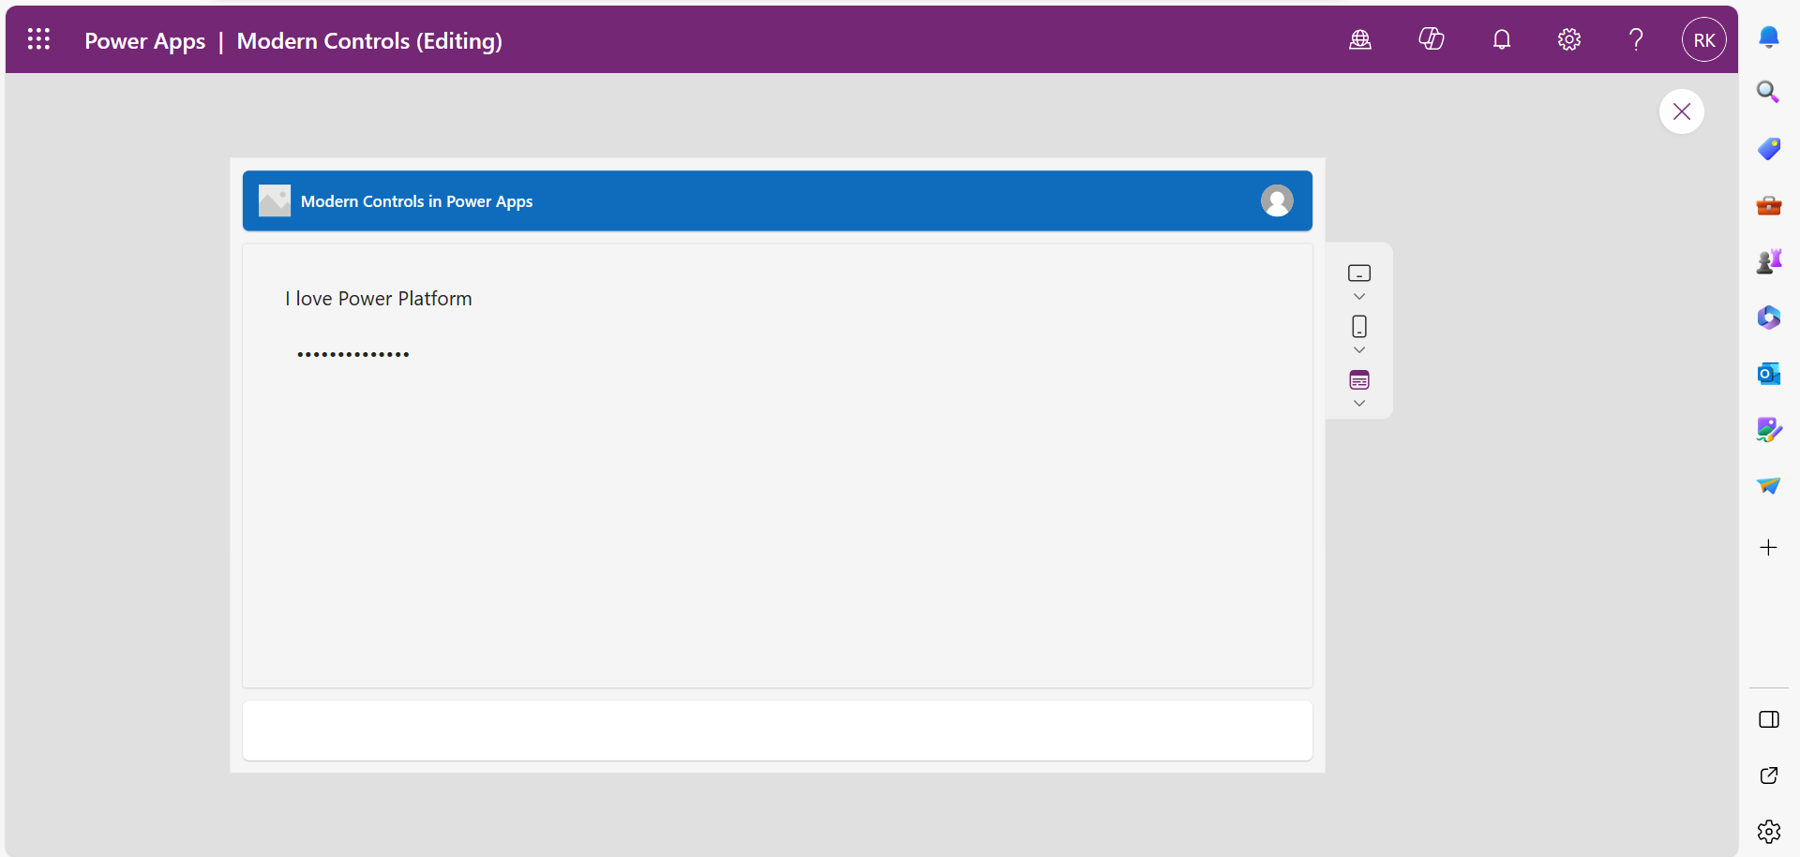
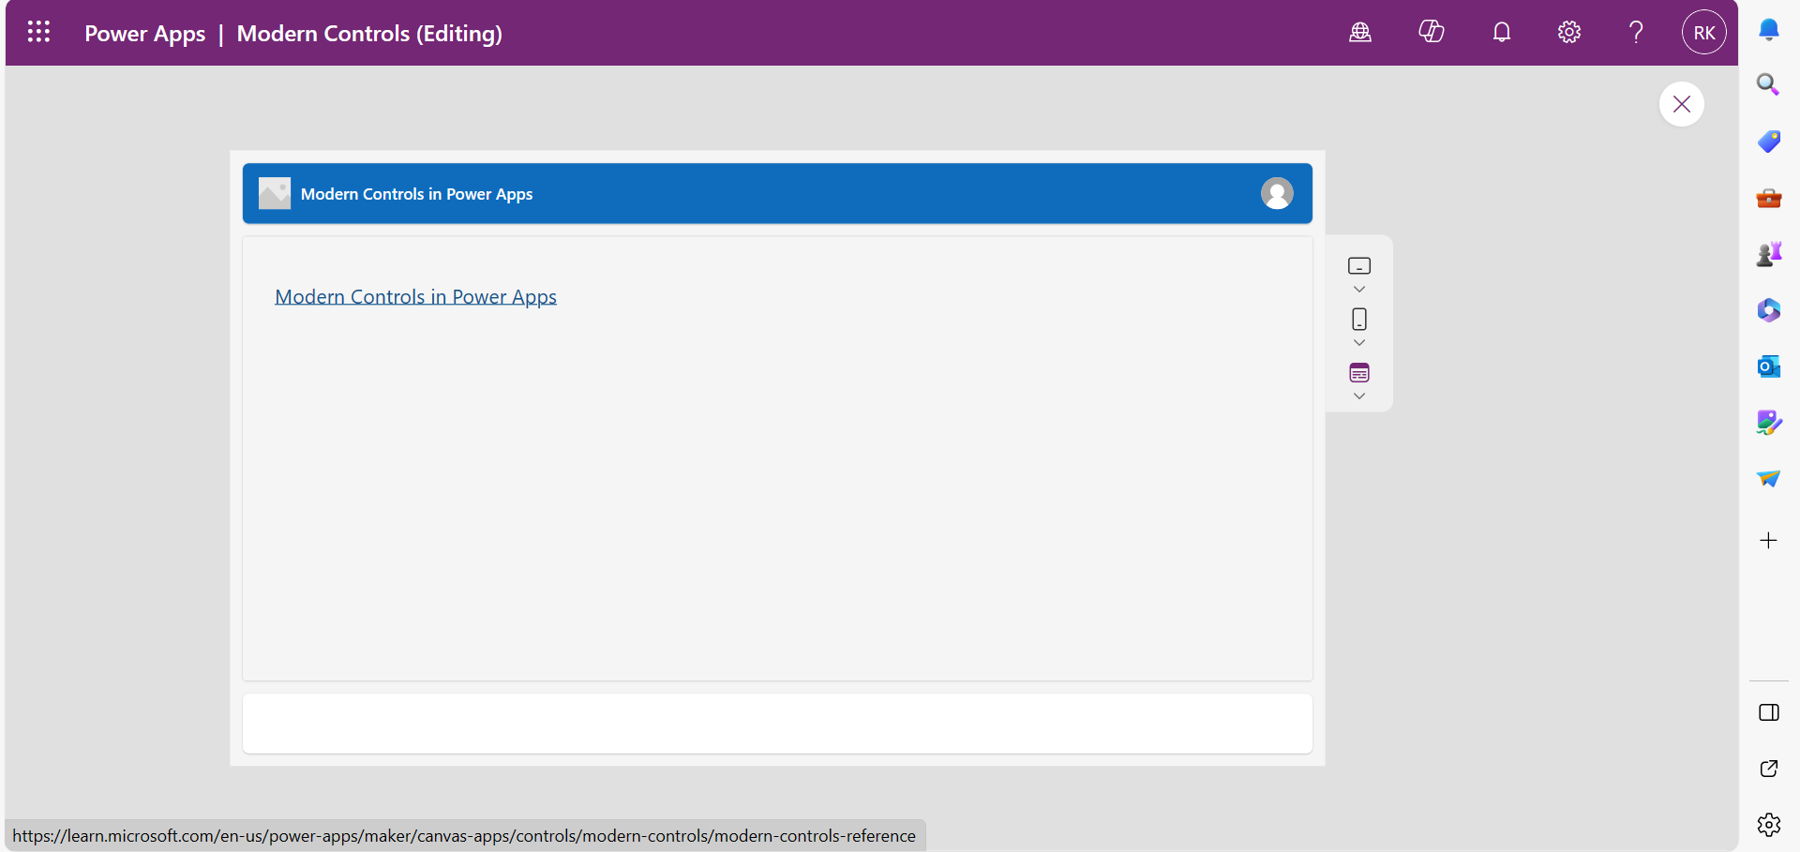
Text Recognition Model
A text recognition model has been trained to identify and extract characters from documents and images automatically. For example, if you have an image with some text on it when used with this model, the text will be extracted automatically. Currently, you can utilize this model in Power Apps as a component in a canvas application or in Power Automate, where you can integrate with a workflow.
Text Translation Model
A text translation model translates a given text to a language that you want and can also detect a language used in a text. The model currently supports up to sixty languages but has a limitation of 10,000 characters that can be translated. An organization can use the model to bridge the language barriers among employees and to enhance communication with customers.
Category Classification Model
The category classification model has been trained to sort unstructured text into predefined categories automatically. Currently, the model supports several languages and can be used in a personal or business scenario. You can use the model in Power Apps or Power Automate. In Power Apps, you can categorize a text using the Power Fx prediction formula (discussed in the next section of this article). In Power Automate, it can be integrated with a flow, with results updated to an Excel file. This model can categorize text into bills, issues, feedback, etc., which makes data organization straightforward.
Power Fx with AI Builder Models in Power Apps
This is a new feature that enables you to interact with the AI Builder models in Power Apps using the formula bar and the controls available under the Insert ribbon of Power Apps Studio. The feature is still in preview, and I highly recommend trying it out.
Power Fx is the open-source, low-code programming language used within Power Platform. With this feature of using Power Fx with the AI models, you can add prediction formulas for the different models to your controls in Power Apps, depending on the use case, to achieve an outcome.
To understand this, I will use an entity extraction model to extract entities from a text and display the information on a Data table (also in preview) by using the Power Fx prediction formula.
Step 1: Create a New Canvas App and Add an Entity Extraction Model
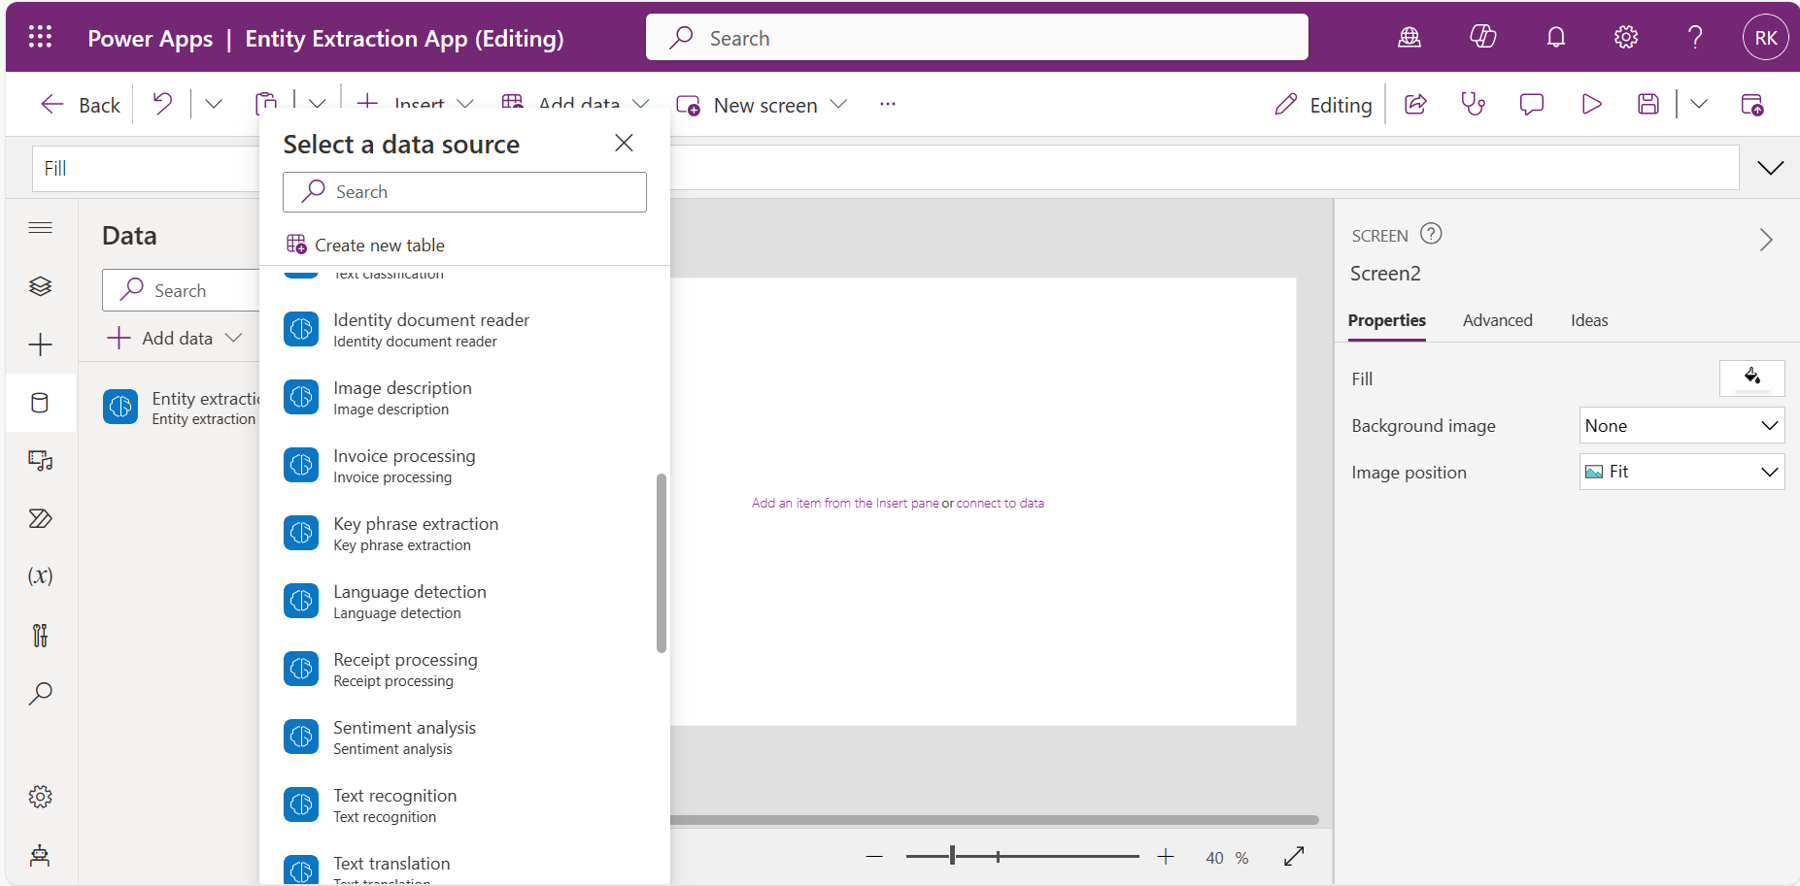
In Power Apps, create a new canvas app and add a blank screen. On the left-hand side of Power Apps Studio, select Data, and then select Add data. Scroll down to AI models and search for Entity Extraction Model. Add the model to your app.
Step 2: Add a Text Label and a Data Table
Under the Insert ribbon, add two text input controls and a data table. On the Items property of the data table, add a prediction formula that will extract the entities from the text of the two text input controls and display them on the table as values using the formula bar. The function should look like the following:
'Entity extraction'.Predict(TextInput1.Text & TextInput2.Text). Entities
The preceding function returns a table of entities. Therefore, you will need to choose the fields to display on the data table. In the table's properties pane, select Edit fields and choose the ones you want to show, including a confidence score for each prediction. Your app should look like Figure 24.
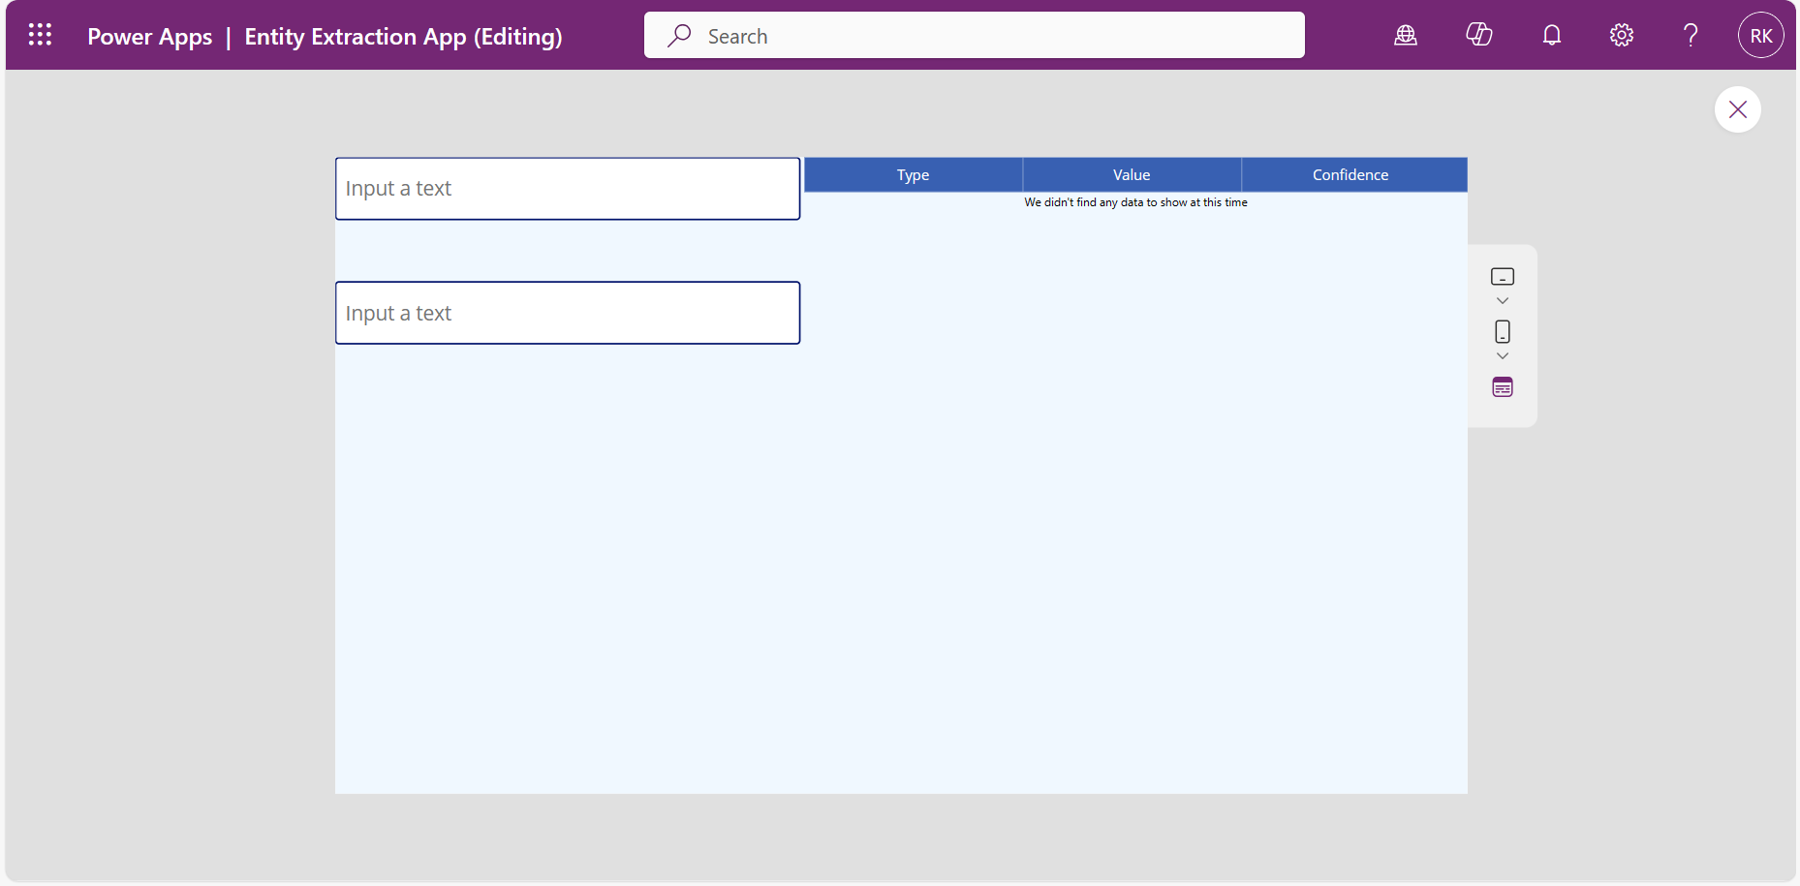
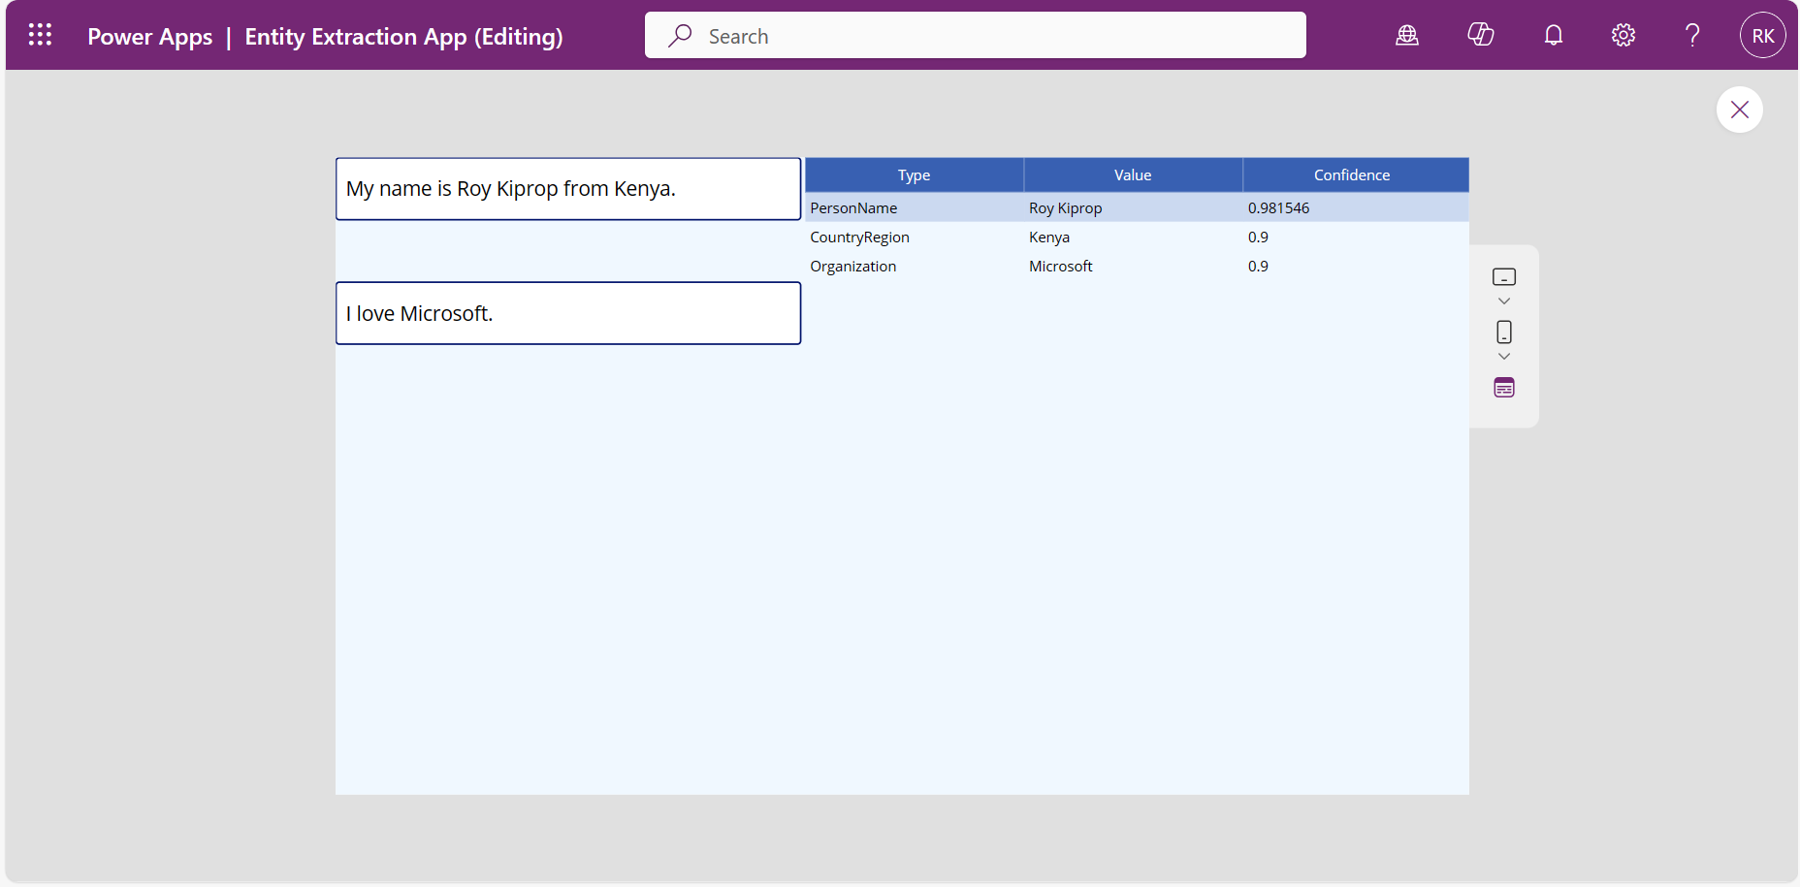
Step 3: Test the App
Put your app in preview mode and add some text for the model to extract entities. Your data table should now display the records of entities in the fields that you selected, as shown in Figure 25.
Summary
In conclusion, you can use the collection of prebuilt AI Builder models in Power Platform in different scenarios to perform different actions, from sentiment analysis to language detection, and many more. Users can leverage these AI tools in Power Platform to improve their experience. AI Builder models offer intelligence that drives innovation in a wide range of use cases.

Roy Kiprop
Roy is deeply passionate about technology, especially Microsoft Power Platform. His journey in the tech world has made him skilled in various Microsoft Power Platform tools like Power Apps, Power BI, Power Automate, Power Virtual Agents, AI, and Dataverse. He sees immense potential in these technologies for creating innovative, no-code/low-code solutions. He is currently a certified App Maker and is on a mission to exploit the full potential of the Power Platform.
Additionally, Roy takes pride in being an active Power Platform User Group Kenya member. Collaborating with like-minded individuals, he stays updated on the latest trends and continuous learning opportunities in the tech space.
He likes sharing his knowledge, insights, tips, and best practices about technology through article writing. Feel free to contact him on any of his social media handles.