How to Use AI in Power Automate aka Copilot

In this article I will introduce you to AI in Power Automate, also named Copilot. I'm going to cover improvements introduced by Microsoft to the Power Automate designer which now has better usability.
Prerequisites
Copilot is in preview right now; this means that you have to follow some steps in order to play with it.
First off, you need to create a new environment targeting USA or US Preview as your location. Second, open the URL make.preview.powerautomate.com, so you land on the home page with Copilot (figure 1).

How to Use Copilot
The text box on top (the one that says “Describe in detail…”) will allow me to describe what I want to create in Power Automate. Below the description box is the "Learning for every level" section, which is the learning path provided by Microsoft.
This learning material is also useful if you want to get certified in Power Platform. You can click on one of the paths to get more insights.
Now let's ask Copilot to create a new Power Automate flow. In my scenario I have a plan in Planner with a lot of completed tasks. I want Copilot for help clean the completed tasks from the plan. To do that, into that description box at the top (figure 2), I'm going to create a new Power Automate flow by typing my description that I want to “delete all completed tasks in Planner.”

After I've typed that description, I'll click the arrow icon (see the orange circle) to submit, and that will trigger Copilot to create a solution.
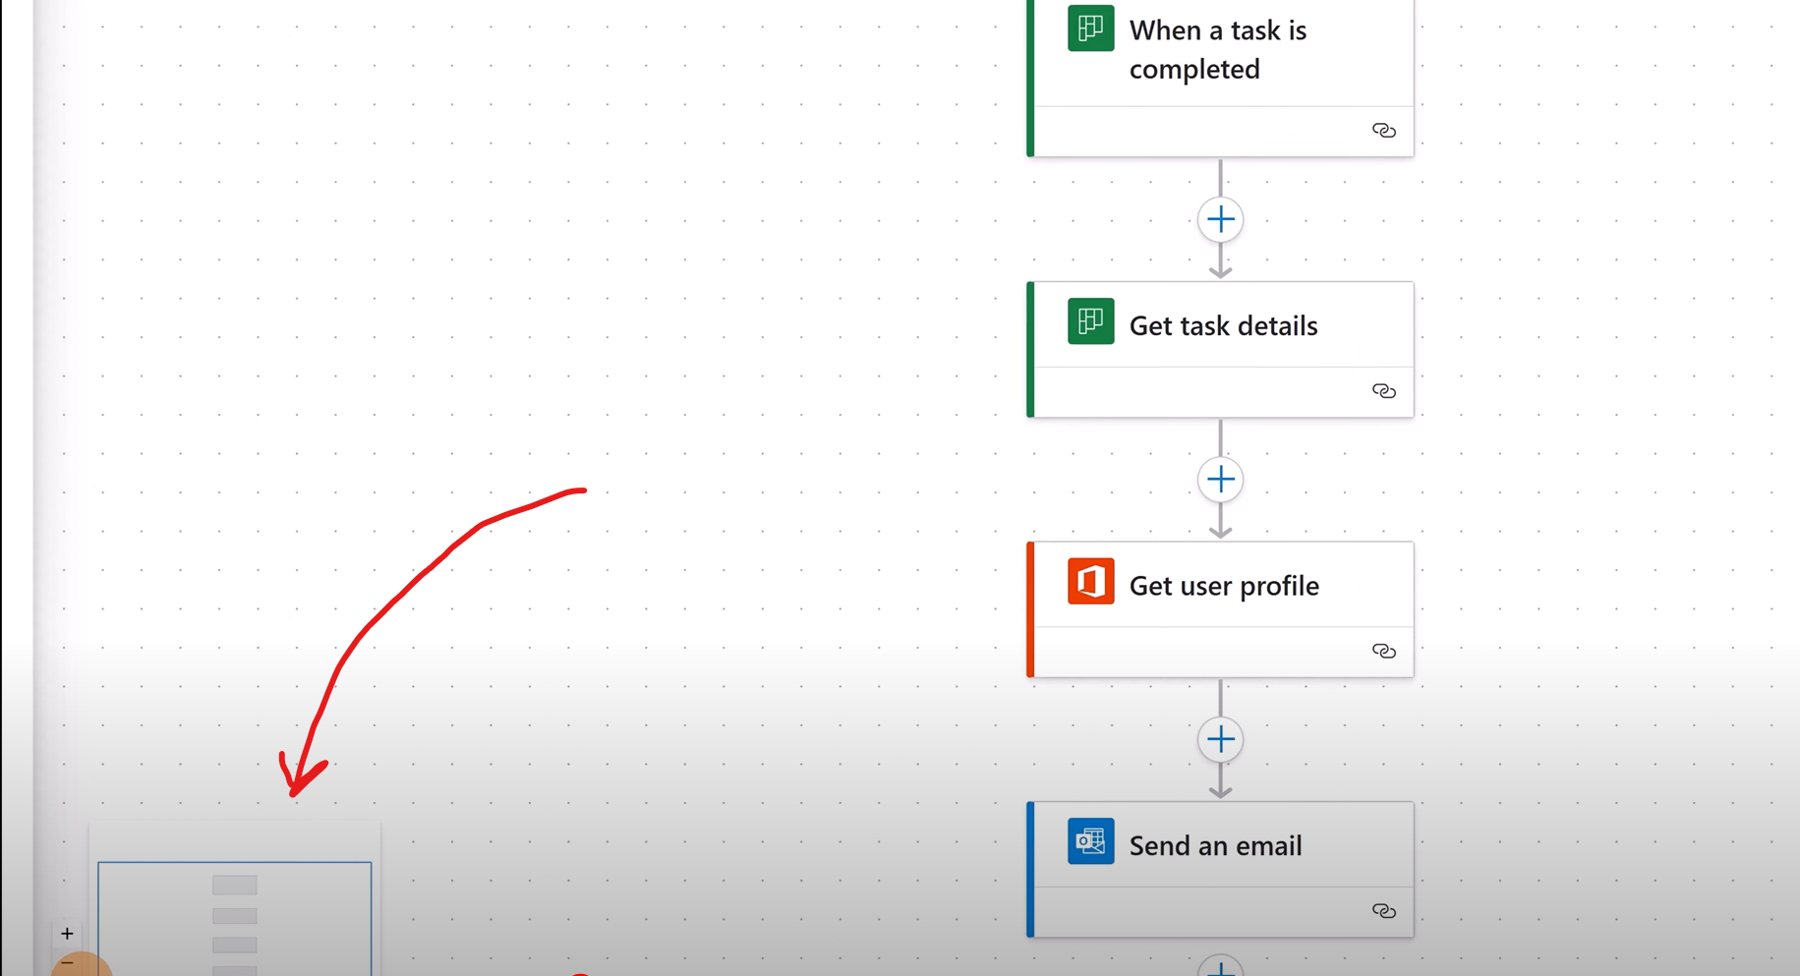
Figure 3 shows the flow that Copilot suggested for me.

As a trigger I have "when a task is completed," which is perfect for my use case. As additional steps, Power Automate will perform three actions:
- Get tasks detail from Planner
- Get user profile from Office 365 Users
- Send an email through Office 365 Outlook
With the last action, Power Automate can inform someone that the task is deleted, for example.
In order to accept the Copilot's suggested flow, I'll click on "Next" (not visible in the screenshot below, but see the video at 02:30), then I'll confirm the connection for every connector with all permissions (figure 4).

I'll click Next again and here I can start to configure my trigger, "When a task is completed," (see the video at 02:34 where I select a Planner board named YouTube and a plan named YouTube Tasks). With the trigger configured, at the bottom of the form I'll click Create flow. This will drop me on the new editor experience of Power Automate, which is definitely better than the classic experience because first of all in the lower left corner there are several functionalities that allow me to navigate my flow better.

For instance, I have the toggle mini map (figure 5) which is pretty useful in cases where I have a huge flow and I want to identify or highlight specific steps of this flow (see the video around 03:30). I can also fit the view, and I can use + or - to change the zoom.
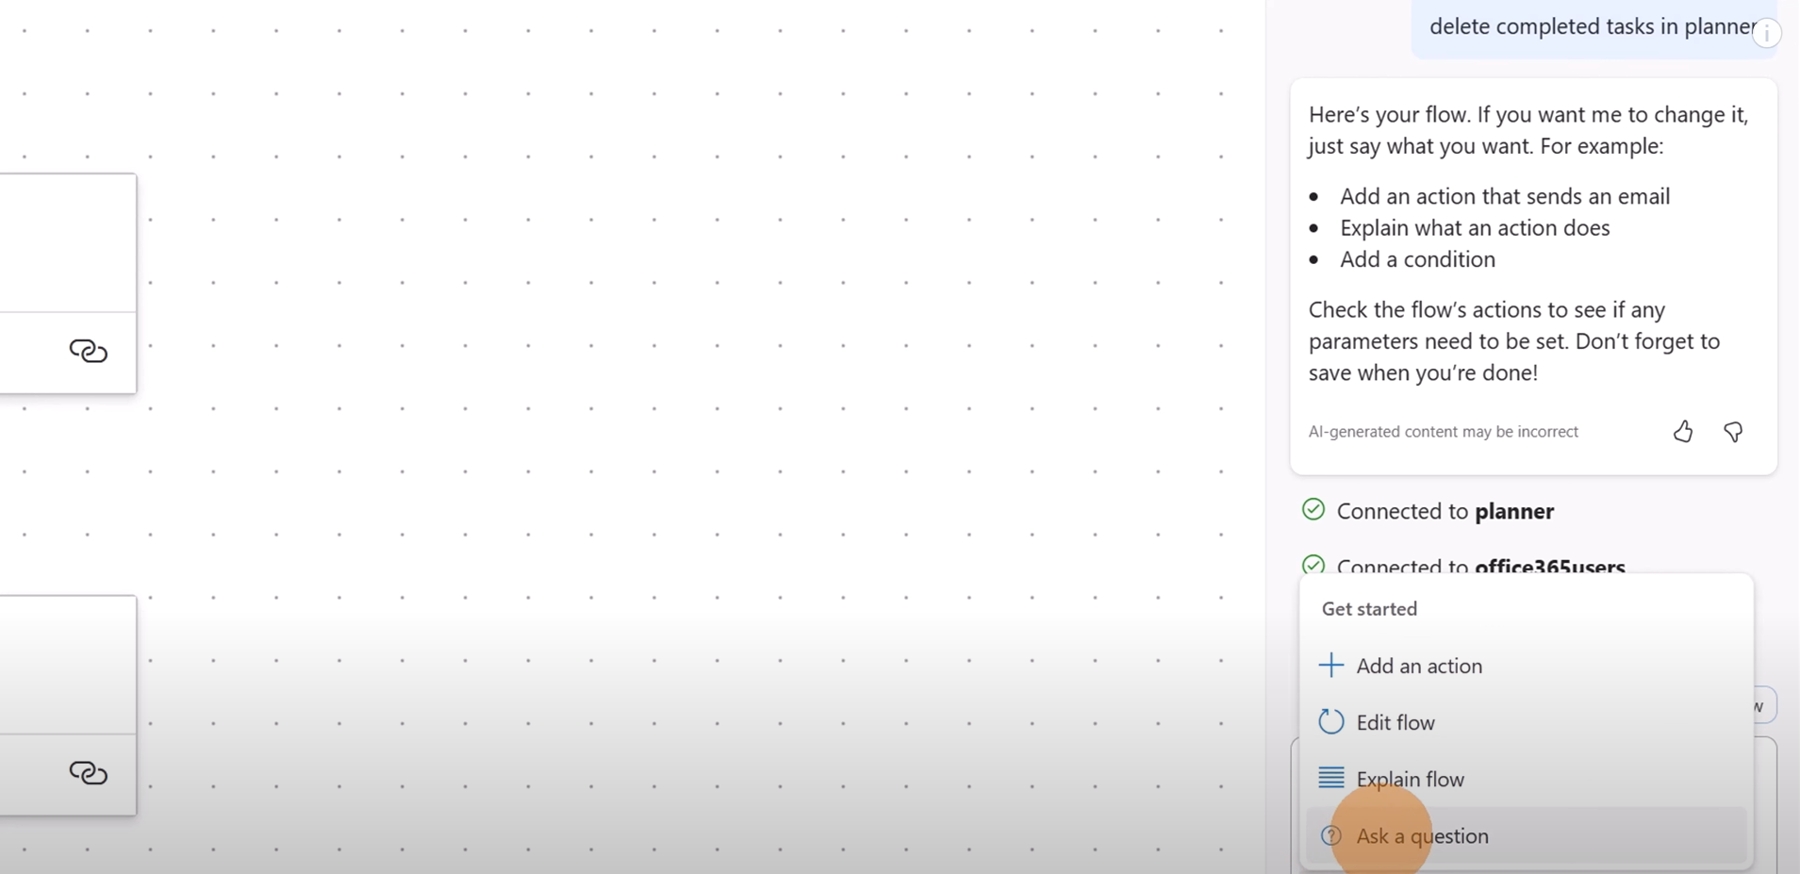
On the right side of the map (figure 6), I see a panel with Copilot where I can review what I've asked and ask Copilot to do more.

By clicking on the icon in the shape of two stars (see video at 04:04) at the bottom of the Copilot pane, a popup menu will open (figure 6) where it is possible to add an action to the flow simply by describing it to Copilot in the text box.
Moreover, you can ask Copilot to edit the flow or ask for an explanation of it.
In the same way, you can ask Copilot to delete a specific action by providing the right title of the action.
The new Power Automate editor offers a new Action panel on the left (figure 7), that allows you to edit every action that you click on.
In this panel you have the classic experience of Power Automate to configure parameters, settings, code view, testing, dynamic content, and functions.

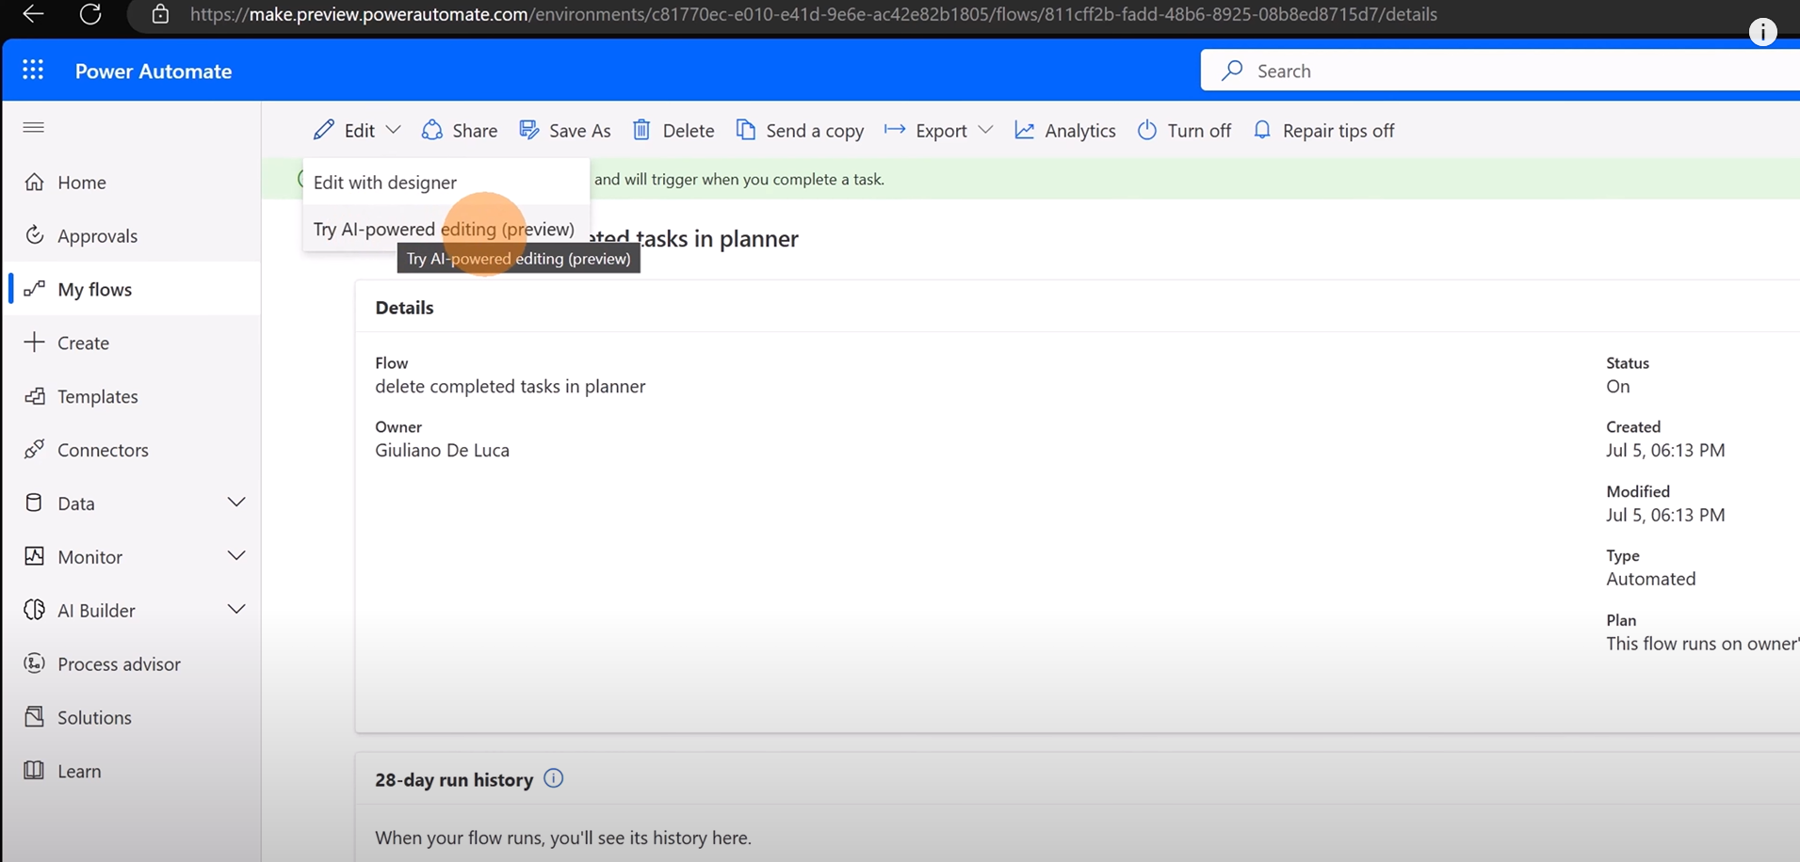
Microsoft will allow both experiences (figure 8) to be used with the classic designer and the modern Power Automate editor. This will allow users to become familiar with the new editor gradually.

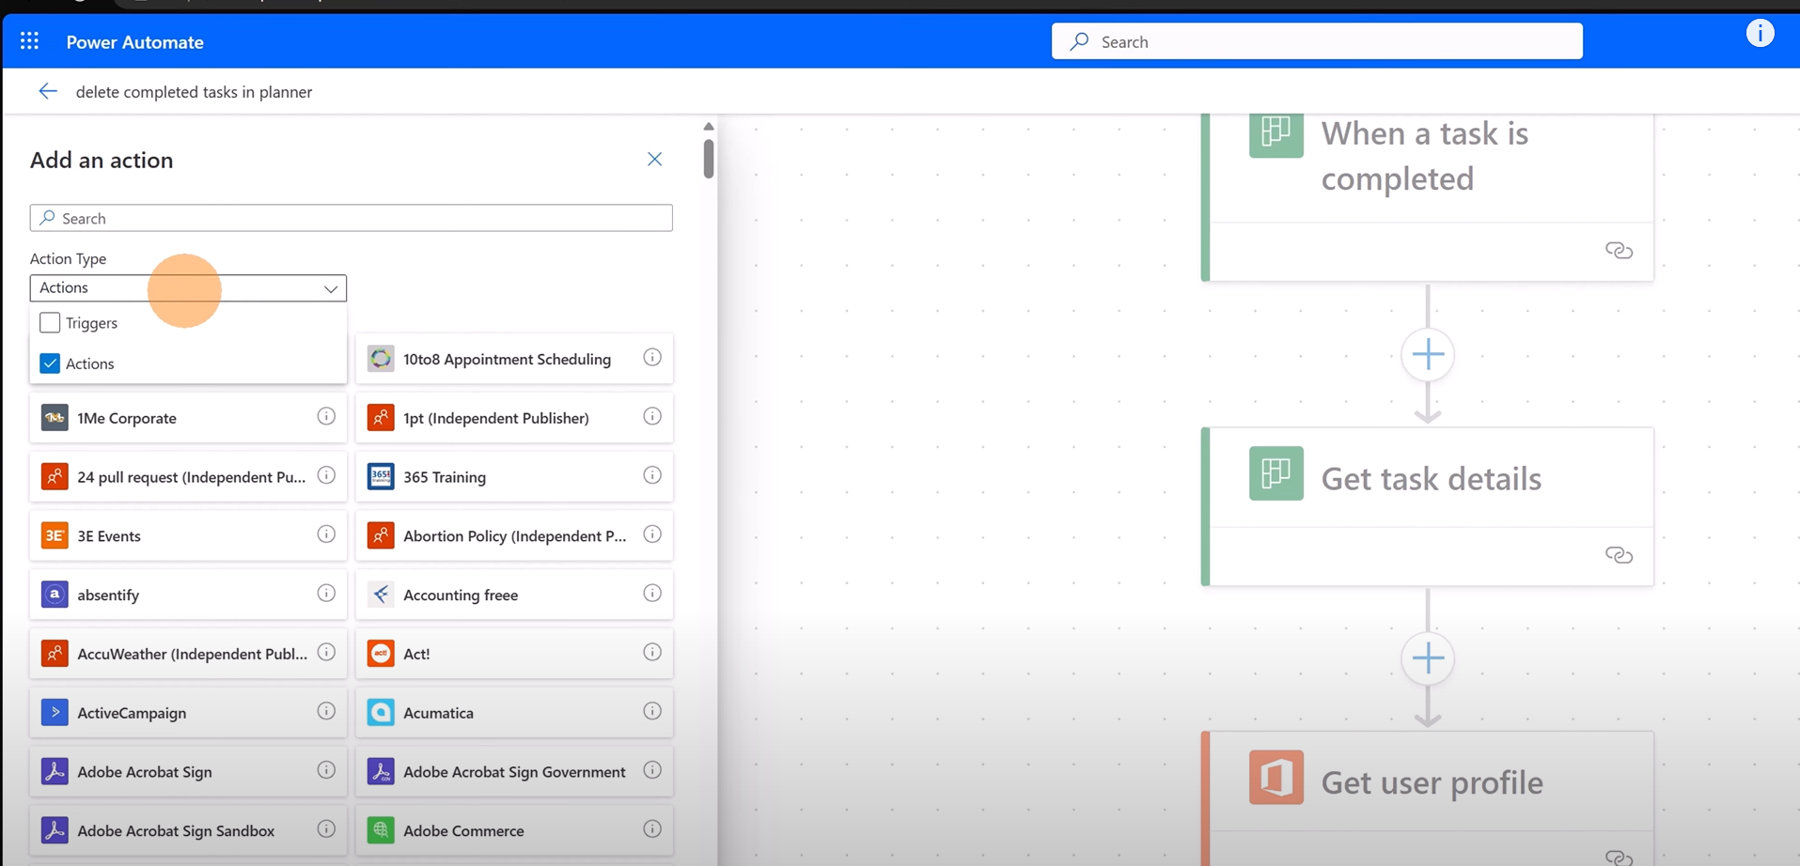
You need to use the left panel in the new editor (figure 9) to add new actions in your flow. In my opinion, the new UI looks cleaner and clearer.

Now that we have explored Copilot and the new editor in Power Automate, what do you think about these new capabilities?

Giuliano De Luca
Giuliano is an Office Development MVP and specialist in Microsoft technologies for software design and development. He loves to collaborate with the community, Giuliano has passed several Microsoft certification exams and achieved the following certifications: MCSD SharePoint Applications, MCSD Web Applications, MCP, Microsoft Specialist Programming in HTML5 with JavaScript and CSS3 Specialist.
In his free time, Giuliano loves to play and explore new technologies.