How to Restrict Access to an Azure AD Application

Azure Active Directory (Azure AD) provides several benefits for managing applications, such as the following examples:
- Single sign-on (SSO) for users
- Application provisioning
- Security and conditional access
- Reporting and monitoring
- Business-to-business and business-to-consumer collaboration
For organizations, restricting access to an Azure AD application as an administrator is important for increased security, compliance, following the principle of least privilege and, last but not least, application performance. In this article, see how to allow applications only for certain users.
Use Applications in the Azure AD Tenant
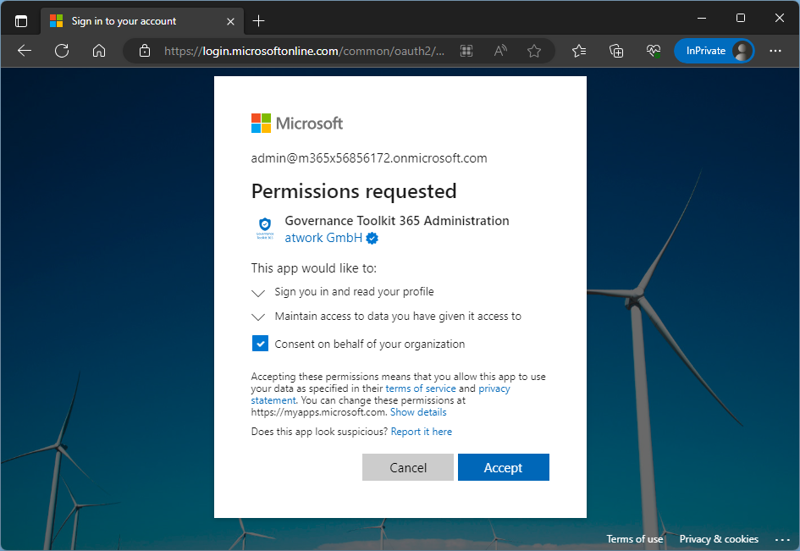
You can manage all applications in your own Azure AD tenant as an administrator, whether it is an internal Azure AD app or a third-party app. As I demonstrate in this article, I want to use a third-party web application in my own Microsoft 365 tenant. I open a web app URL in a browser, and the sign-in process of Azure AD follows, like in Figure 1.
This application asks for permission in my tenant. It requires the sign-in permission Sign you in and read your profile with my organizational account and lets the app read my profile. This permission allows the app to read basic company information, like the tenant Id, organization name, and some other basic tenant properties. Maintain access to data you have given it access to allows the app to see and update the data I gave it access to, even when I am not using the app. This does not give the app any additional permissions.
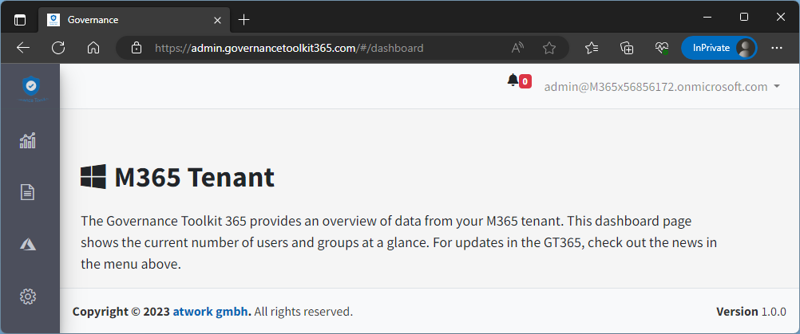
It's not possible to only assign certain permissions. It's all or nothing. In this sample, you can see that this app asks for minimal permissions (following the least privilege principle). As administrator, you can decide if you want to give consent on behalf of your organization, or not. In most cases, you would grant these permissions so that your users don't require an administrator to use the app. If the permissions are accepted, the application opens, as in Figure 2.
If you are interested in this application and what it does, see Governance Toolkit 365.
What Happens in the Background
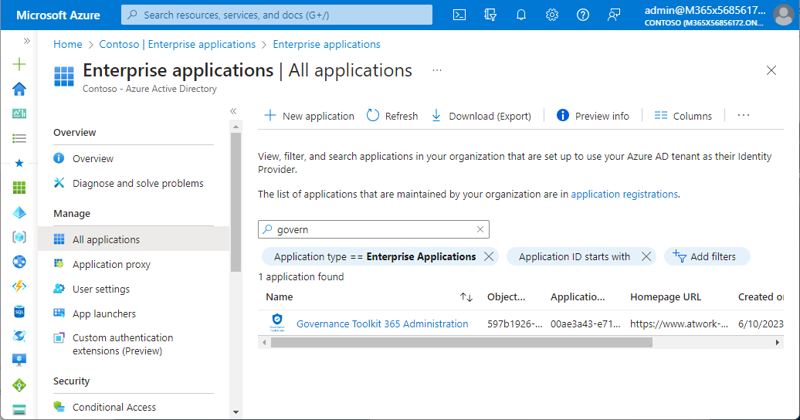
With the first consent of an administrator or an entitled user, a copy of the multi-tenant application is registered in your Azure AD. It has the same application Id and properties as in the original tenant, but (of course) a different object Id, which is usually not used for management. The advantage of using multi-tenant apps is that each administrator in their own organization can control the permissions themselves. Figure 3 shows the newly registered enterprise app in my own Azure AD.

So far, so good.
Restrict Access to the App in Your Azure AD
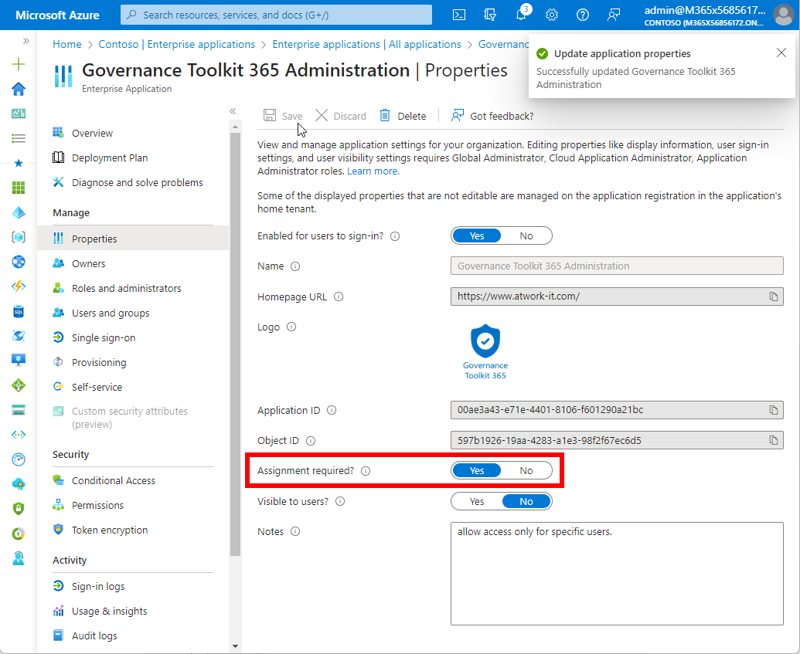
By default, every user in your organization has access to the application (if not already restricted). Now, I want to restrict access only for specific users because, in this case, it´s an app that only a handful of administrators will have access to. Navigate to the Properties app and change the Assignment required? switch from No to Yes. If this option is set to Yes, then users and other apps or services must first be assigned this application before being able to access it. That is exactly what I want to achieve, as in Figure 4.

Optionally, I can set the Visible to users? switch from Yes to No to control if this app will be shown on the user´s My Apps. Then, save the properties.
As second step, I just need to add users or — better — groups. In my sample tenant, I no longer have the Azure AD Premium P2 license available. This is why I cannot assign groups to this app and I get this notification. However, working with groups is definitely preferable in real life. In Figure 5, I allow Adele and Christie access to the app.
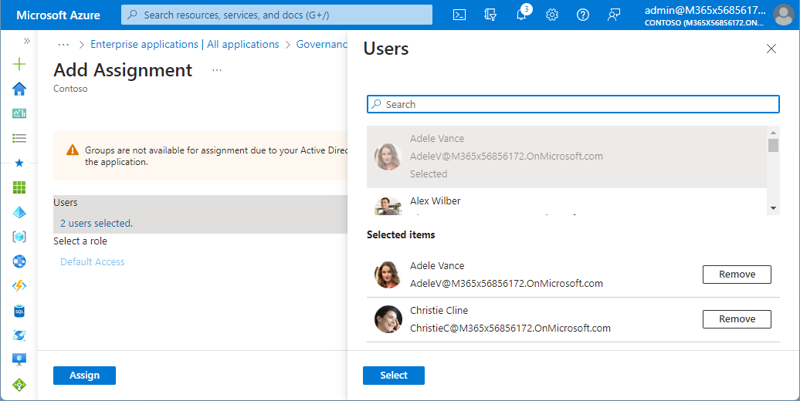
When the users or groups are selected, click Assign. The Global Admin (my user) already was added before. So, in Figure 6, there are three users who get access to the app.

That´s it! Of course, I can use additional security features like conditional access. I recommend using security groups and dynamic security groups in larger organizations. So I can assign this app to users with specific properties, for example, all users in department “IT”, users with a specific cost center, or similar.
Open the Web App as an Authorized User
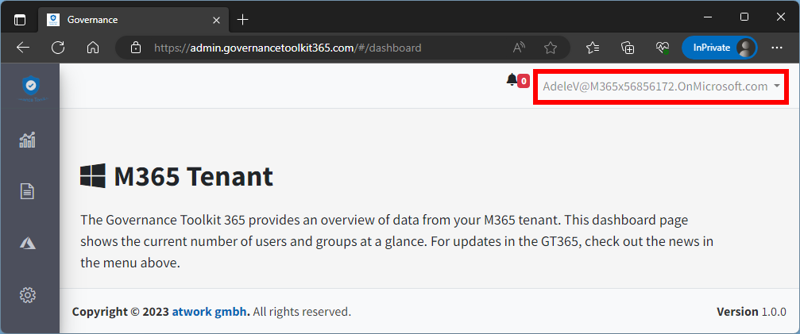
Let´s try it out. First, I try to open the web app with a user who got access. I open the URL and use Adele, as in Figure 7.

Figure 8 shows that the web app opens properly for authorized users.

Verify Access With a Non-Authorized User
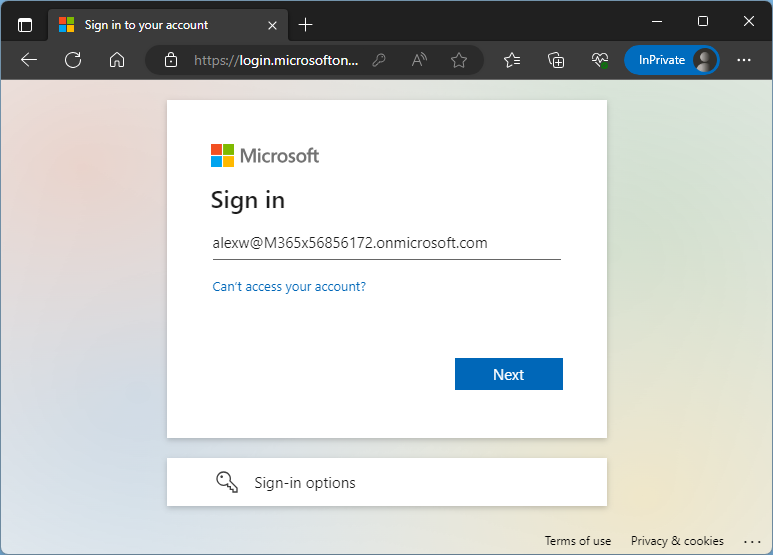
Now I'll try another user who is not allowed to use the web app. I sign in with user Alex, as in Figure 9.
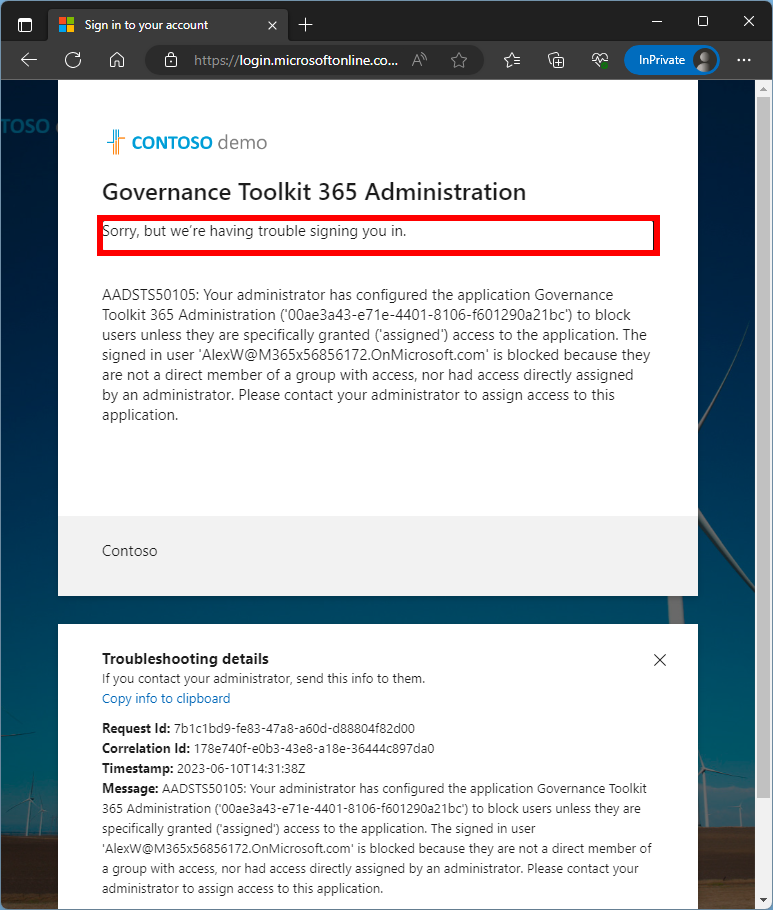
After the successful signin, Azure AD denies redirecting to the web app. The message says Sorry, but we’re having trouble signing you in. as in Figure 10.

The message also informs the user that the administrator has configured the application to block users unless they are specifically granted ("assigned") access to the application.
Mission accomplished! By following these steps, you can restrict access to an Azure AD application by specifically granting access to selected users or groups.
Conclusion
In this article, I have demonstrated the straightforward process of restricting access to an Azure AD application to specific users. By implementing these access controls, organizations can enhance security, ensure compliance with regulatory standards, and protect sensitive data. Azure AD provides a robust framework for managing applications. By leveraging Azure AD's capabilities, organizations can effectively control and manage application access within their Microsoft 365 tenant.
I hope this step-by-step guide will help admins limit their application usage and only allow users who actually need the apps.

Toni Pohl
Toni works as consultant and has authored several technical books and articles. He is conference speaker and passionate blogger. Since 2013, Toni was awarded as Microsoft MVP for his contributions for various community activities around Windows and Web technologies, Microsoft 365 and Microsoft Azure. Toni is interested in software development, innovation and cloud computing and loves playing with new technologies and developing cloud solutions.
Toni is Microsoft MVP for Microsoft Azure and Office Development.