Productivity Tip: Cleaning Up Conversations in Outlook

Despite all of the collaboration and communication tools and platforms available today, email remains one of the primary tools of the information worker. If you’re like me, tools such as SharePoint, Microsoft Teams and Yammer (er…it’s now Viva Engage) have greatly reduced the volume of email received, but it remains a primary vehicle when collaborating across organizations.
In many cases, email is the jumping-off point for a new collaboration that then gets moved to the appropriate workload. Some of the latest email integrations with Teams and Yammer will help make this process more seamless.
However, multi-participant threaded discussions often go on too long in email when they should be moved to another workload, creating a lot of email clutter. Ignore email for a few hours, and you inevitably find yourself digging through threads as you attempt to follow the conversation.
If you’re like me, you occasionally respond to an email or two, only to find that the question you asked was covered in a later response. Thankfully, Outlook has a quick tool for cleaning up conversations and duplicate emails. This command examines every conversation in the target folder for redundant messages. Once found, these redundant messages are deleted so they no longer clutter your Outlook experience.
The following is a simple-but-great tip that was shared by fellow MVP Joanne Klein on her blog — and it’s one that I utilize on a regular basis to clean up Outlook.
Note: the following instructions assume you are using the Classic Ribbon layout. If you are using the Simplified Ribbon layout, you can still do these steps, but the button locations will be slightly different (click the far-right dropdown arrow on the ribbon if you're not sure what layout you're using).
Clean Up a Conversation
On the left pane, select an email that is part of a threaded discussion you would like to clean up. Choose something from your Inbox or any other target folder and go to the second section in the ribbon under Delete group. Click on Clean Up to reveal a drop down with three options:
- Clean Up Conversation
- Clean Up Folder
- Clean Up Folder & Subfolders
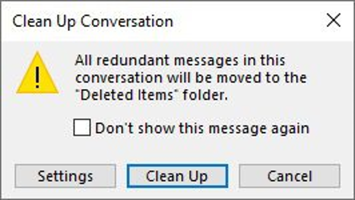
Select Clean Up Conversation to start the process.

You’ll see a warning dialog box, which I prefer to see every time — just in case I accidentally click on the wrong option. Always good to leave some controls in place, if you want my opinion.
You can also adjust the settings for your conversation clean up by clicking on Settings, which provides the familiar Outlook Options dialog box — and is the same setting window for conversation or folder cleanup.
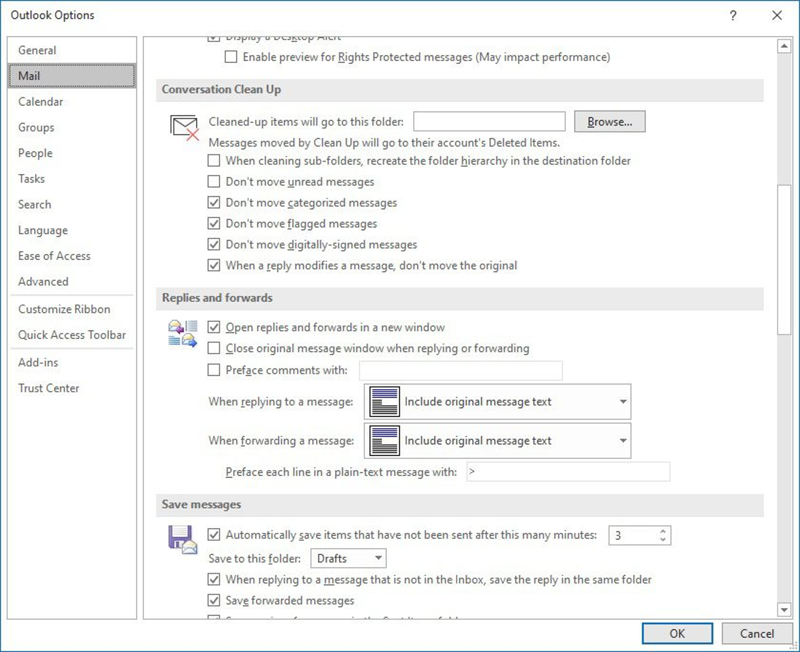
Once you’ve adjusted your settings, click OK to kick off the cleanup. And that’s it. No dialog box telling you what just happened or how many emails were moved to Deleted Items. It just runs and stops when it’s done.
As you experiment, make sure your Deleted Items folder is empty first so that you can review what this process removes to ensure that everything is working as planned. If not, you can always restore the deleted emails, change the settings and try again.
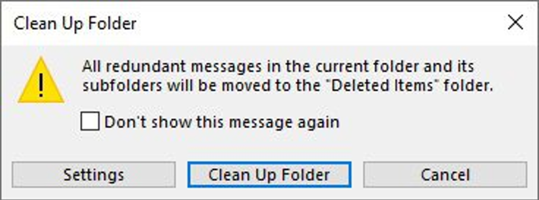
Clean Up your Inbox
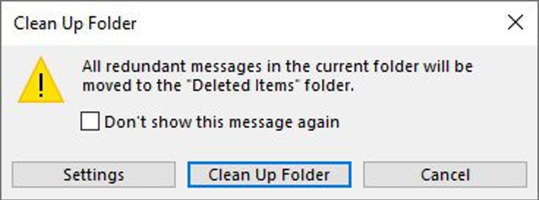
When you select the Clean Up Folder button, all redundant messages will move to the Deleted Items folder (or you can select another folder as the destination). As with cleaning up conversations, a dialog box opens for approval. You can adjust the Settings or move forward by selecting Clean Up Folder.
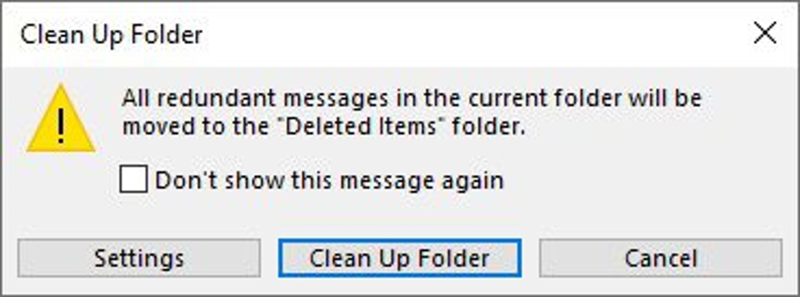
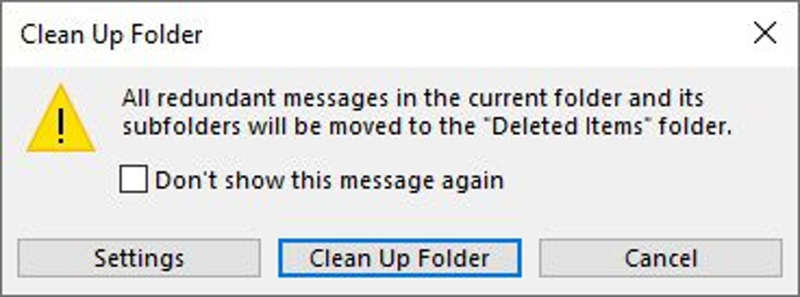
And of course, if you select Clean Up Folder & Subfolders, it will follow this same process for any folders underneath Inbox.
Depending on the number of emails and depth of your folder structure, this could take a couple minutes to complete. The status bar at the bottom on the Outlook window lets you know what folders/subfolders are being processed. And, when it’s all complete, you should have a full Deleted Items folder to review and/or empty.

Personally, most of my folder structure is organized within my Inbox, so this cleanup activity touches just about everything within Outlook for my primary email. I use Outlook to manage multiple email profiles and build out similar subfolder structures underneath each, making this an excellent way to keep things tidy under each profile. I am also a member of several community-focused distribution lists that generate anywhere from a couple dozen to a couple hundred emails every day, so I use this feature often.
Overall, the Clean Up tool helps keep Outlook folders organized and important information easier to find. It’s a great time- and space-saver!

Christian Buckley
Christian is a Microsoft Regional Director (RD) and Most Valuable Professional (MVP), an award-winning product marketer, technology evangelist and host of the #CollabTalk podcast and monthly tweetjam series. Christian's 30-year tech career has included Chief Marketing Officer and Chief Evangelist for several leading SharePoint ISVs, and he was part of the Microsoft team that launched the hosted SharePoint platform in Office 365. He has worked with some of the world’s largest technology companies to build and deploy social, collaboration, and supply chain solutions, and he sold his first software startup to Rational Software in 2001. A co-author of books on both SharePoint and software configuration management (SCM), Christian is one of the most widely published names within the Microsoft ecosystem.